Measuring complex sintered components. SINTERIS
"Sintering is a green process as it minimizes production scraps.
Parts of the powder we use namely in our raw material is made out of recycled iron.
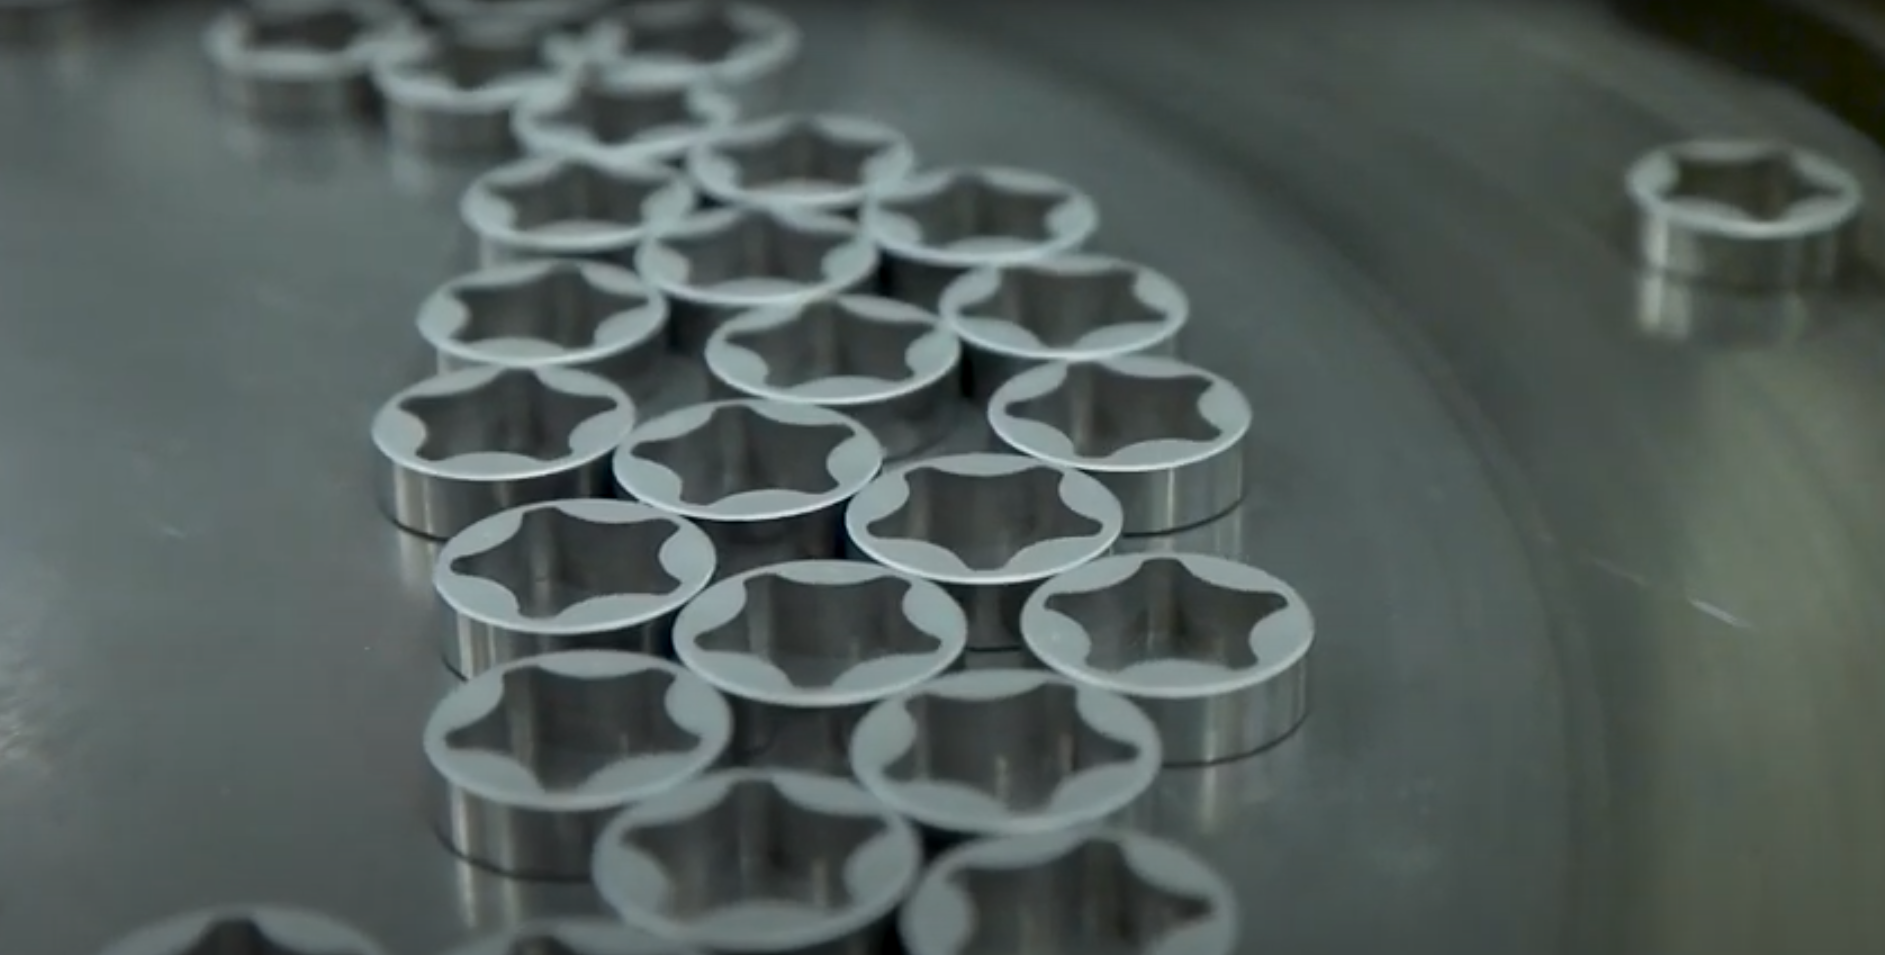
The customer asks Sinteris to make those components that are a bit more complicated.
A piece with so many different thicknesses, where quality is integral, is only achievable using hydraulic presses like this one, with various controlled movements.
The part I enjoy the most is analyzing a customer’s design of a part he wants made through sintering…
So sometimes they are unsure about a particular design, we see if we can achieve the part and make it more feasible through our technology clearly we offer to help them with this too.
To find the best way to produce it, we take into account the customer requirements but also the process feasibility and cost-effectiveness.
There’s been a strong evolution even in the equipment we use in the presses so we’re buying a new one it’s going to be amazing, I can’t wait for it to arrive.
What makes a sintered piece so complicated is not so much its outline, but the difference in thicknesses encountered…
And in addition we have this square shank which further complicates the matter.

The customer's requirements ... is having zero errors.
Because when the piece comes out of the mold is always the same. Once it enters the oven we are talking about a thermal process that has shrinkage or expansion.
So it has to be verified, the measuring instrument is fundamental at this stage and when a customer comes to meet you or to approve of you and sees that you have a beautiful metrology room with many machines, updated and kept well…it's a big selling point.
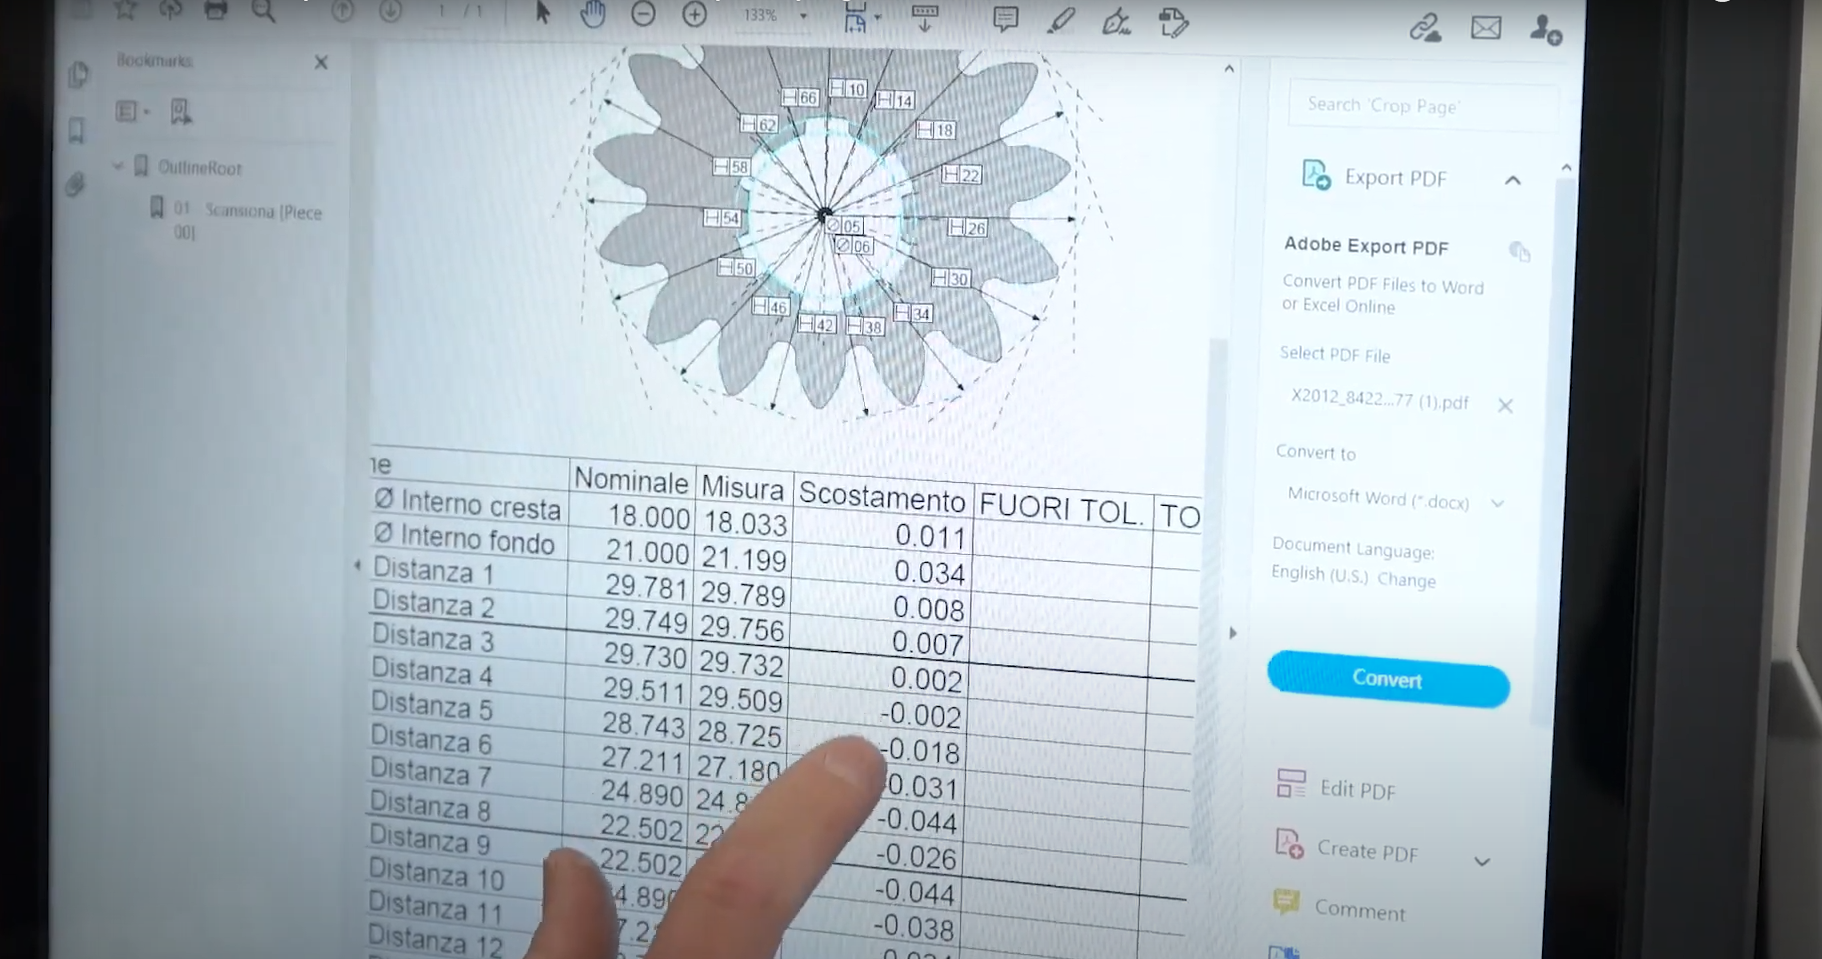
The purchase of an optical machine is fundamental to be able to detect profiles, import them, manage with the technical office, and therefore to carry out planning, to verify the conformity of parts, because they have particular shapes and then the machine can measure them.
Here in Sinteris I deal with new products that are used to validate the parts at the early stages when it has yet to be born.
We needed it both for the repeatability problem and for measurement speed, but also for the possibility of measuring parts without contact.
It allows you to measure multiple parts at once, at the same time. Meaning that the time needed to measure one part with an entire measurement protocol, can be reduced to a wide extent.
A measuring machine is essential because....It allows us to make many measurements simultaneously.
The reliability of an optical machine is very important because it guarantees me repeatability....The ease of use of this machine is fundamental because with just a click, the machine starts and it measures what we need in a moment.
With an optical machine I increase productivity by reducing downtime, which is normally physical because it takes time to measure the pieces and above all I reduce the probability of supplying non-conforming parts.
You hear customers thank you, they are content, they are happy.
Happy because we solved the problem together we found a way, that gives you the satisfaction".

